Thursday, August 20, 2015

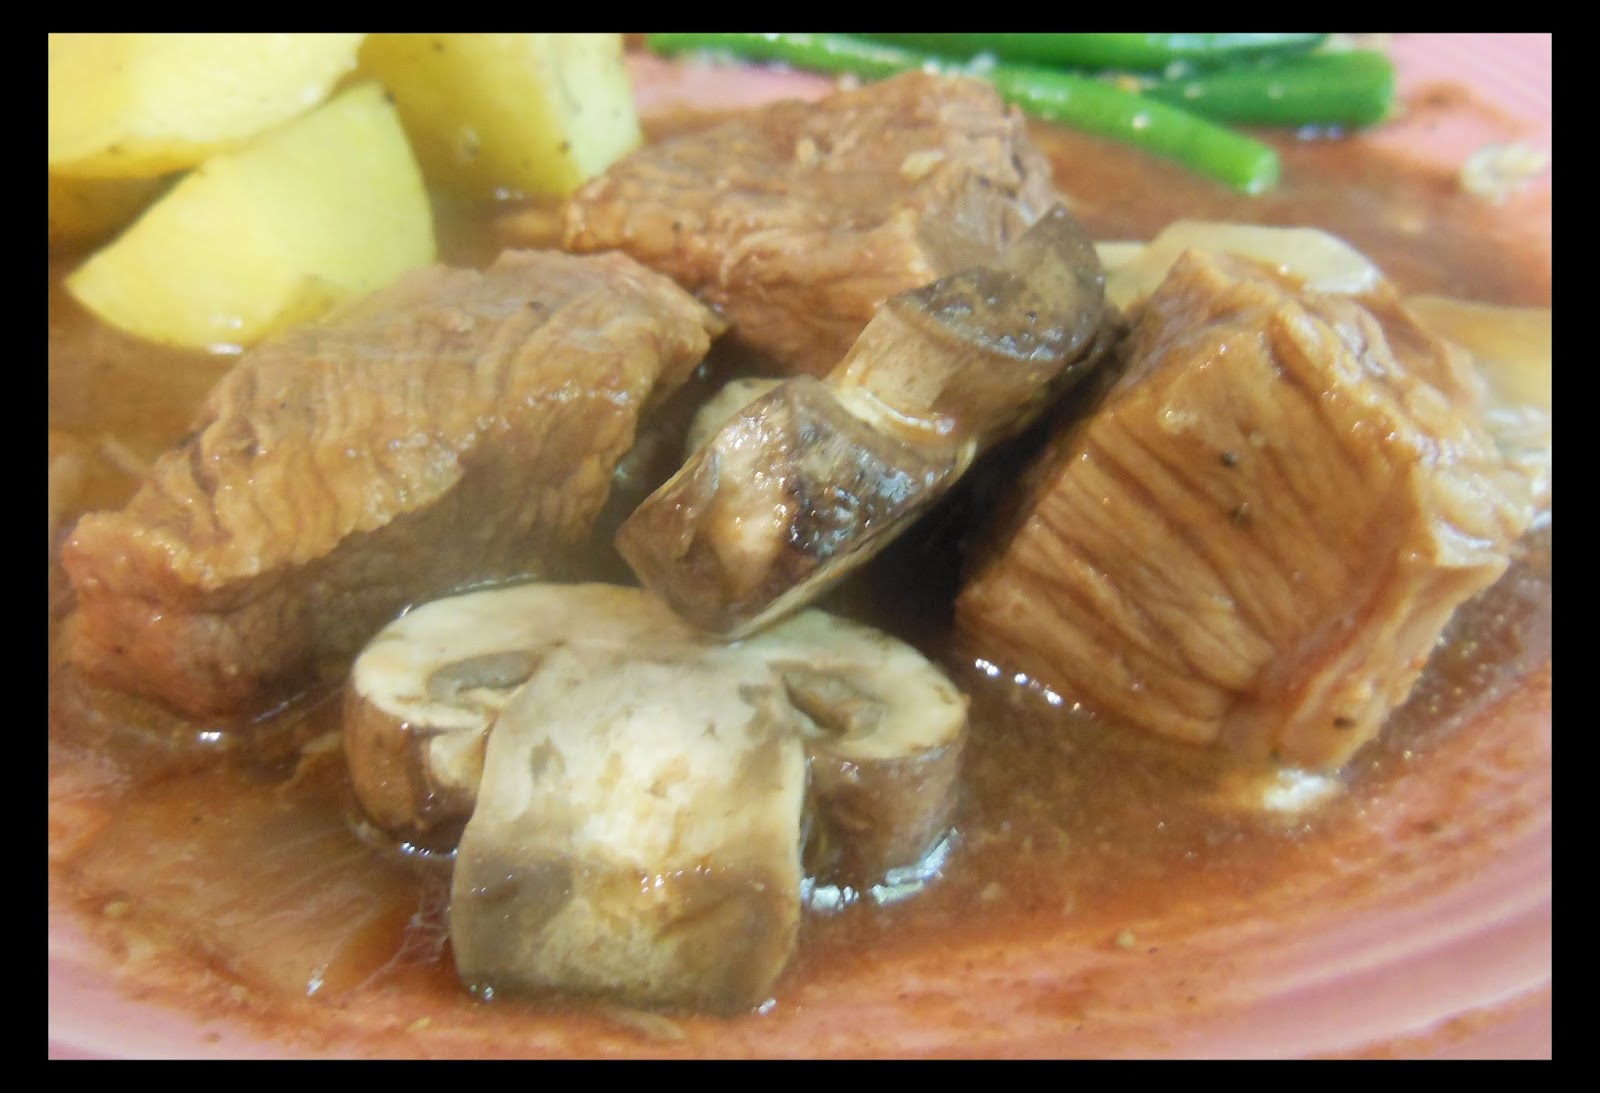
Beef Tips with Mushroom Gravy


I don't know about you, but I have been enjoying October evenings in August this week. I woke up to a 58 degree morning. 58 degrees! On August 20th! In South-Central Kansas!  I honor of our cooler weather, I made a hardy comfort food meal that is usually reserved for late fall or early winter. Beef Tips with Mushroom Gravy. If you aren't so keen on mushrooms, you can always leave them out. When I first was considering experimenting with this dish, I perused the internet for ideas about ingredients, cuts of meat, etc. I think every recipe I came across included a packet of french onion soup mix and a can of cream of something. Over and over. Have no fear there will be no cream of anything here! (See what I did there?) 

This dish does only require 6 hours of cook time on LOW because I wanted the Beef to come out as "tips" (solid pieces) versus just shredding into pulled beef. 6 hours was perfect. They were still fork tender, but held together when I took them out to make the gravy. I did use a cut of meat called "Beef Chuck Shoulder Cross Rib Cut". I is essentially pre-cut strips of beef chuck shoulder. You could use a whole beef chuck shoulder as well. The pre-cut strips just saved me some knife work. Hope you enjoy!

Ingredients


2-3 lbs of Beef Chuck Shoulder (Cross Rib Steak if you can find it)
28 oz of beef broth
1 6 oz can tomato paste
6 carrots (peeled & rough chopped)
1 yellow onion (peeled and rough chopped)
4 garlic cloves
8 oz of mushrooms (white or baby bella)
1 tsp Worcestershire sauce
1 tsp kosher salt
2 tsp black pepper

For cornstarch slurry to thicken gravy
2 TBSP corn starch
2 TBSP cold water 

Click here for a PRINTABLE RECIPE.


Mix beef broth, tomato paste, onions, carrots, garlic, salt and pepper in a bowl until the tomato paste is combined with the broth.


Cut the beef into 1" to 1.5" cubes and add to the crockpot.


Add the broth & vegetable mixture and stir. Try to keep the beef submerged in the liquid if possible. Cook on LOW for 6 hours.


After 6 hours, removed the beef tips from the liquid and add the mushrooms and cornstarch slurry (see below). Stir and cook on HIGH for 30 minutes or until gravy thickens to your liking. Then add the beef tips back to the gravy and stir to coat them with gravy.

Cornstarch Slurry: Mix 2 TBSP Cold Water & 2 TBSP Cornstarch

Most of the time, a cornstarch slurry has 2 parts water and 1 part cornstarch, but this gravy need some serious thickening power. Be sure to make the slurry in a cup first, then slowly add it to the liquid while stirring it in.

Beef Tips with Mushroom Gravy - Roasted Potatoes - Parmesan Garlic Green Beans
Serve and enjoy!

Thursday, August 13, 2015

Pulled Pork


Well, I went back to work this week and that means a few things in our house. Summer is for all intents and purposes over, school is about to start and the amount of time we have to cook is about to be drastically reduced. This one may be the easiest and fastest of them all to prepare. Mix spices, rub pork, refridgerate overnight & cook. I love barbecue, but no one has decided to drop off their smoker in my driveway and let me use it for a few years. So this is a pretty good substitute when it comes to lip-smacking good pulled pork. We like it in a sandwich, but it is certainly good enough to consume all by itself. Kids show up in our building on Tuesday, so here's to 4 more days of summer. Enjoy.


Ingredients

1 Pork Shoulder(Boston Butt) or Sirloin Roast (5 to 8 lbs)
2 TBSP brown sugar
2 TBSP white sugar
1 TBSP kosher salt
1 TBSP black pepper
1 TBSP chili powder
1 TBSP garlic powder
1 TBSP cumin
1 tsp crushed red pepper
1 tsp paprika
1 tsp cayenne pepper

Click here for a PRINTABLE RECIPE.

A few notes on the meat. A Pork Shoulder is often times labeled as a "Boston Butt" or "Shoulder Butt". You could also use a sirloin roast if you can't find a shoulder. More than likely, it will also be "bone-in". Meaning the shoulder blade will be inside the meat. No problem. You will easily be able to pull it out during the pulling process after it has cooked. You can buy whatever size you'd like, and they can be up to 15 lbs! If you can't find one small enough, take it to the meat counter and have the butcher cut it into smaller pieces for you. Cook and what you need and freeze what you don't. DO NOT attempt to remove any of the fat cap before cooking! Much of it will render down in to the pork and make it ridiculously tasty.

This is WAY better if you make the rub, apply it to the pork and then refrigerate it overnight in the crockpot.


Mix all of the spices together in a bowl to make the rub.


Remove 1 heaping TBSP of the rub and set aside for later.


Sprinkle the rub on all sides of the pork.


Now it's time to get messy and use your hands to rub it into the meat. Channel your inner massage reflexologist. With the moisture from the pork, it will make a paste on the outside of the pork butt.

Refrigerate Overnight

Cook for 8-10 hours on LOW the next day.


Hopefully you should see something like this. Don't pour off the liquid before you pull the pork and let it reabsorb all of the juices that it can. You should be able to take a pair of tongs and pull the shoulder blade right out. If it doesn't just fall out, you need to cook it longer.


Use 2 forks to pull the pork it pieces of your liking. Again, DON'T pour off the liquid until the meat has a chance to soak up as much of that goodness as possible.


Once you have pulled the pork and let it reabsorb the juice, you can pour off any excess liquid you don't want. Then add the heaping TBSP of rub you set out and stir it in. You did remember to set out the extra rub? Right?

At this point it is ready to serve. I like it as is. Toast a nice roll and pile it on. In our house we put the BBQ sauce and mustard on the table for people to use at their own discretion, but here are some sauce variations if you are interested.

Saucy Pulled Pork: Add 1/2 cup of your favorite BBQ sauce and stir
Carolina: Add 1/4 of both apple cider vinegar and mustard and stir
Spicy: Add 2 TBSP hot sauce to either above or straight to pork 

Pulled Pork Sandwich with Roasted Yukon Gold Potatoes and Sweet Corn

Monday, August 3, 2015

Honey Ginger Chicken


I don't know about you, but I LOVE Chinese. I mean LOVE Chinese. I could eat it everyday of the year and twice on Sundays. Unfortunately (or fortunately for my cholesterol), Clearwater doesn't have a Chinese restaurant. Also, making authentic Chinese food requires some serious firepower on the stove and inevitably makes my house smell like fry oil for days. So this my alternative for those of you who would like to trade take-out for make-in. Honey Ginger Chicken. What you lose in fried crunchy chicken, we will make up for in tasty, saucy goodness. Once again I like to use chicken thighs instead of chicken breasts for extra flavor and moisture. Also as you can see in the picture above, we served it on top of rice noodles, but you can go with rice if you'd like. If you missed my rant about rice cookers in my previous Chicken Coconut Curry post, here is a refresher.


Ingredients

1 package of boneless, skinless chicken thighs (2-3 lbs)
1 yellow onion (peeled and rough chopped)
4 garlic cloves (peeled and minced)
4 inch piece of fresh ginger (peeled and grated)
1/2 cup of honey
1/2 cup of soy sauce
1/4 blackberry jelly (or any dark berry - I'll explain, trust me)
1/4 cup hoisin sauce
2 TBSP olive oil
1 tsp crushed red pepper

To thicken sauce:
2 TBSP cold water
1 TBSP cornstarch

Green Onions (optional garnish)
Toasted Sesame Seeds (optional garnish)

Click here for a PRINTABLE RECIPE.

There are several ingredients that you may be unfamiliar or concerned about in the list above. First, hoisin sauce can be found in your local grocery store in the Asian foods section. It is for better or worse basically Chinese ketchup. 

Next, blackberry jelly. I know, just hear me out. The blackberry jelly does a few necessary things in this recipe. It gives us some fruity sweetness that many Chinese dishes have without just adding straight sugar. Also, the gelatin in the jelly helps the sauce get to that sticky consistency we all love in dishes like General Tsao's or sesame chicken. If you don't have any on hand and are going to buy some at the store, try to find a brand with basically three ingredients: blackberries, gelatin and sugar.

Finally the ingredient that gives this dish some serious punch, Ginger. If you missed the previous post of Coconut Curry Chicken and how to peel and grate ginger, here is a quick recap.

Peel your ginger piece with a vegetable peeler. 
Grate the piece of peeled ginger


In a bowl, mix the honey, soy sauce, hoisin, blackberry jelly, olive oil, onion, garlic, ginger and crushed red pepper.


If you have never cooked with chicken thighs before, after this you will to yourself "where have you been all my life?". Warning: They are DARK meat and therefore contain more fat than say chicken breasts, but fat is flavor and they become moist deliciousness in the world of a crockpot. And the best part... They are cheaper than chicken breasts and probably located right next to them in the meat department. As you can see above, I would use a pair of kitchen shears to trim off any excess fat on the edges of each thigh before you cut them into chunks.


Mix the chicken thighs and the sauce together in the crockpot. Cook on LOW for 6 to 8 hours.


About 30 minutes before you are ready to eat, remove the chicken thighs from the crockpot and shred them in a bowl with two forks. This would also be a great time to prepare whatever starch you are going to serve the Honey Ginger Chicken on (Jasmine Rice, Rice Noodles, etc.)

After you remove the chicken from the crockpot, turn it up to HIGH. We are going to make a cornstarch slurry to help thicken the sauce.

Cornstarch Slurry: Mix 2 TBSP Cold Water & 1 TBSP Cornstarch

Add the slurry to the sauce and stir well. Add the pulled chicken back to the sauce. Cover and cook on high for 30 minutes or until the sauce thickens to your liking.


Serve on top of a starch of your choice. Garnish with green onions and toasted sesame seeds. Enjoy!


If you are interested in using rice noodles, I usually buy a package that is similar to this in the Asian food isle at the grocery store. You cook them just like pasta and they have a great taste and texture that is very unique. I really like Jasmine rice, but my wife Erin loves these and you know who drives the bus most of the time at our house!


Saturday, July 25, 2015

French Dip Sandwiches


This may indeed be the fastest in terms of prep of all of the crockpot recipes in our house. Combine that with the ridiculously tender, pull-apart beef it yields and you have a real winner on your hands. Officially, this is an "Au Jus" (French for "with juice" - specifically it's own). You will find the "Jus" particularly valuable as a dipping sauce when you serve them.

 In the ingredient list, you will see that it says "beef roast". I have intentionally been vague with the cut of roast, because the fact of the matter is there are several cuts that work just fine for these sandwiches because of the low & slow cooking application. The following is a list of acceptable cuts:

 Chuck Roast - Shoulder Roast - Top Round - Bottom Round

Also because these are sandwiches, you will require some bread. My advice? Jimmy John's "day old" bread. Never heard of it? Here's the deal. Jimmy John's makes fresh bread everyday. When they don't use it all, they keep it and sell it the next day to whomever would like some. They are 24"ish loaves and in my opinion taste exactly like they did the day before (especially with a light toasting). Here comes the best part. THEY ARE $.50 That's not a typo. Half a dollar will get you 2 feet of tasty bread. I'd get 2 or 3 for this recipe. Just go in (or drive thru) and ask for "day old" bread. I of course forgot to swing by Jimmy John's when grocery shopping this week and had to settle for some bread from Sam's. Dang.


Ingredients

1 beef roast (2 to 3 lbs - see list above for specific cuts)
8-12 slices of cheese for melting (Swiss-Havarti-Provolone)
1 onion thinly sliced
4 garlic gloves (minced)
1 14 oz beef broth
1/4 cup soy sauce
1.5 TBSP Worcestershire Sauce
3 TBSP Honey
1 tsp black pepper
Bread for sandwich making

Click here for a PRINTABLE RECIPE.


Place half of your sliced onions in the bottom of the crockpot. This will help keep the meat from sitting directly on the bottom of the pot and also evenly distribute the onions when you are ready to pull the beef.


Mix the beef broth, soy sauce, Worcestershire sauce, honey, garlic and black pepper in a bowl. 


Place the beef roast on top of the first half of sliced onion and then top with the remaining half of onion. Then, pour the sauce mixture over the top of the beef and onions. Cook on LOW for 8-10 hours.


In 8-10 hours, you should have something that looks like this. If you notice excess liquid or "Jus", don't worry. We will definitely put it to good use even after the beef gets pulled. DON'T even think about pouring off the liquid. 


Use 2 forks to "pull" the beef. It should shred easily. Leave your crockpot on LOW at this point. We are now ready to prep the bread.


No matter your choice of bread, it needs to hold up to all of the Jus that comes with this sandwich. Even if you choose to not directly dip your sandwich, there is enough moisture in the meat that if you don't have appropriately textured bread you will find yourself holding a soggy, mushy mess. Cut your sandwich bread in half and toast in the oven at 400 degrees for 10 minutes. Keep and eye on them as they can go from toast to briquettes quickly if you forget them.

   
After toasting, remove from the oven and place a slice of cheese on each side. You can only use one slice if you'd like, but that would reduce some of the melty, cheesy goodness and that's no fun now is it? Put them back into the 400 degree oven to melt the cheese.


Mmmmmmmm. Now that is a beautfiul thing.


Top with the pulled beef and serve with a side of "Jus".

French Dip with Roasted Sweet Potato Fries